Wiring the New Light Power Button on the Kaabo Mantis X ProUpdated a month ago
Upgrading or replacing the light power button on your X Pro scooter involves understanding the pin connections of the new button. The new buttons have 5 pins, compared to the old 3-pin configuration, but connecting them is straightforward once you know the layout.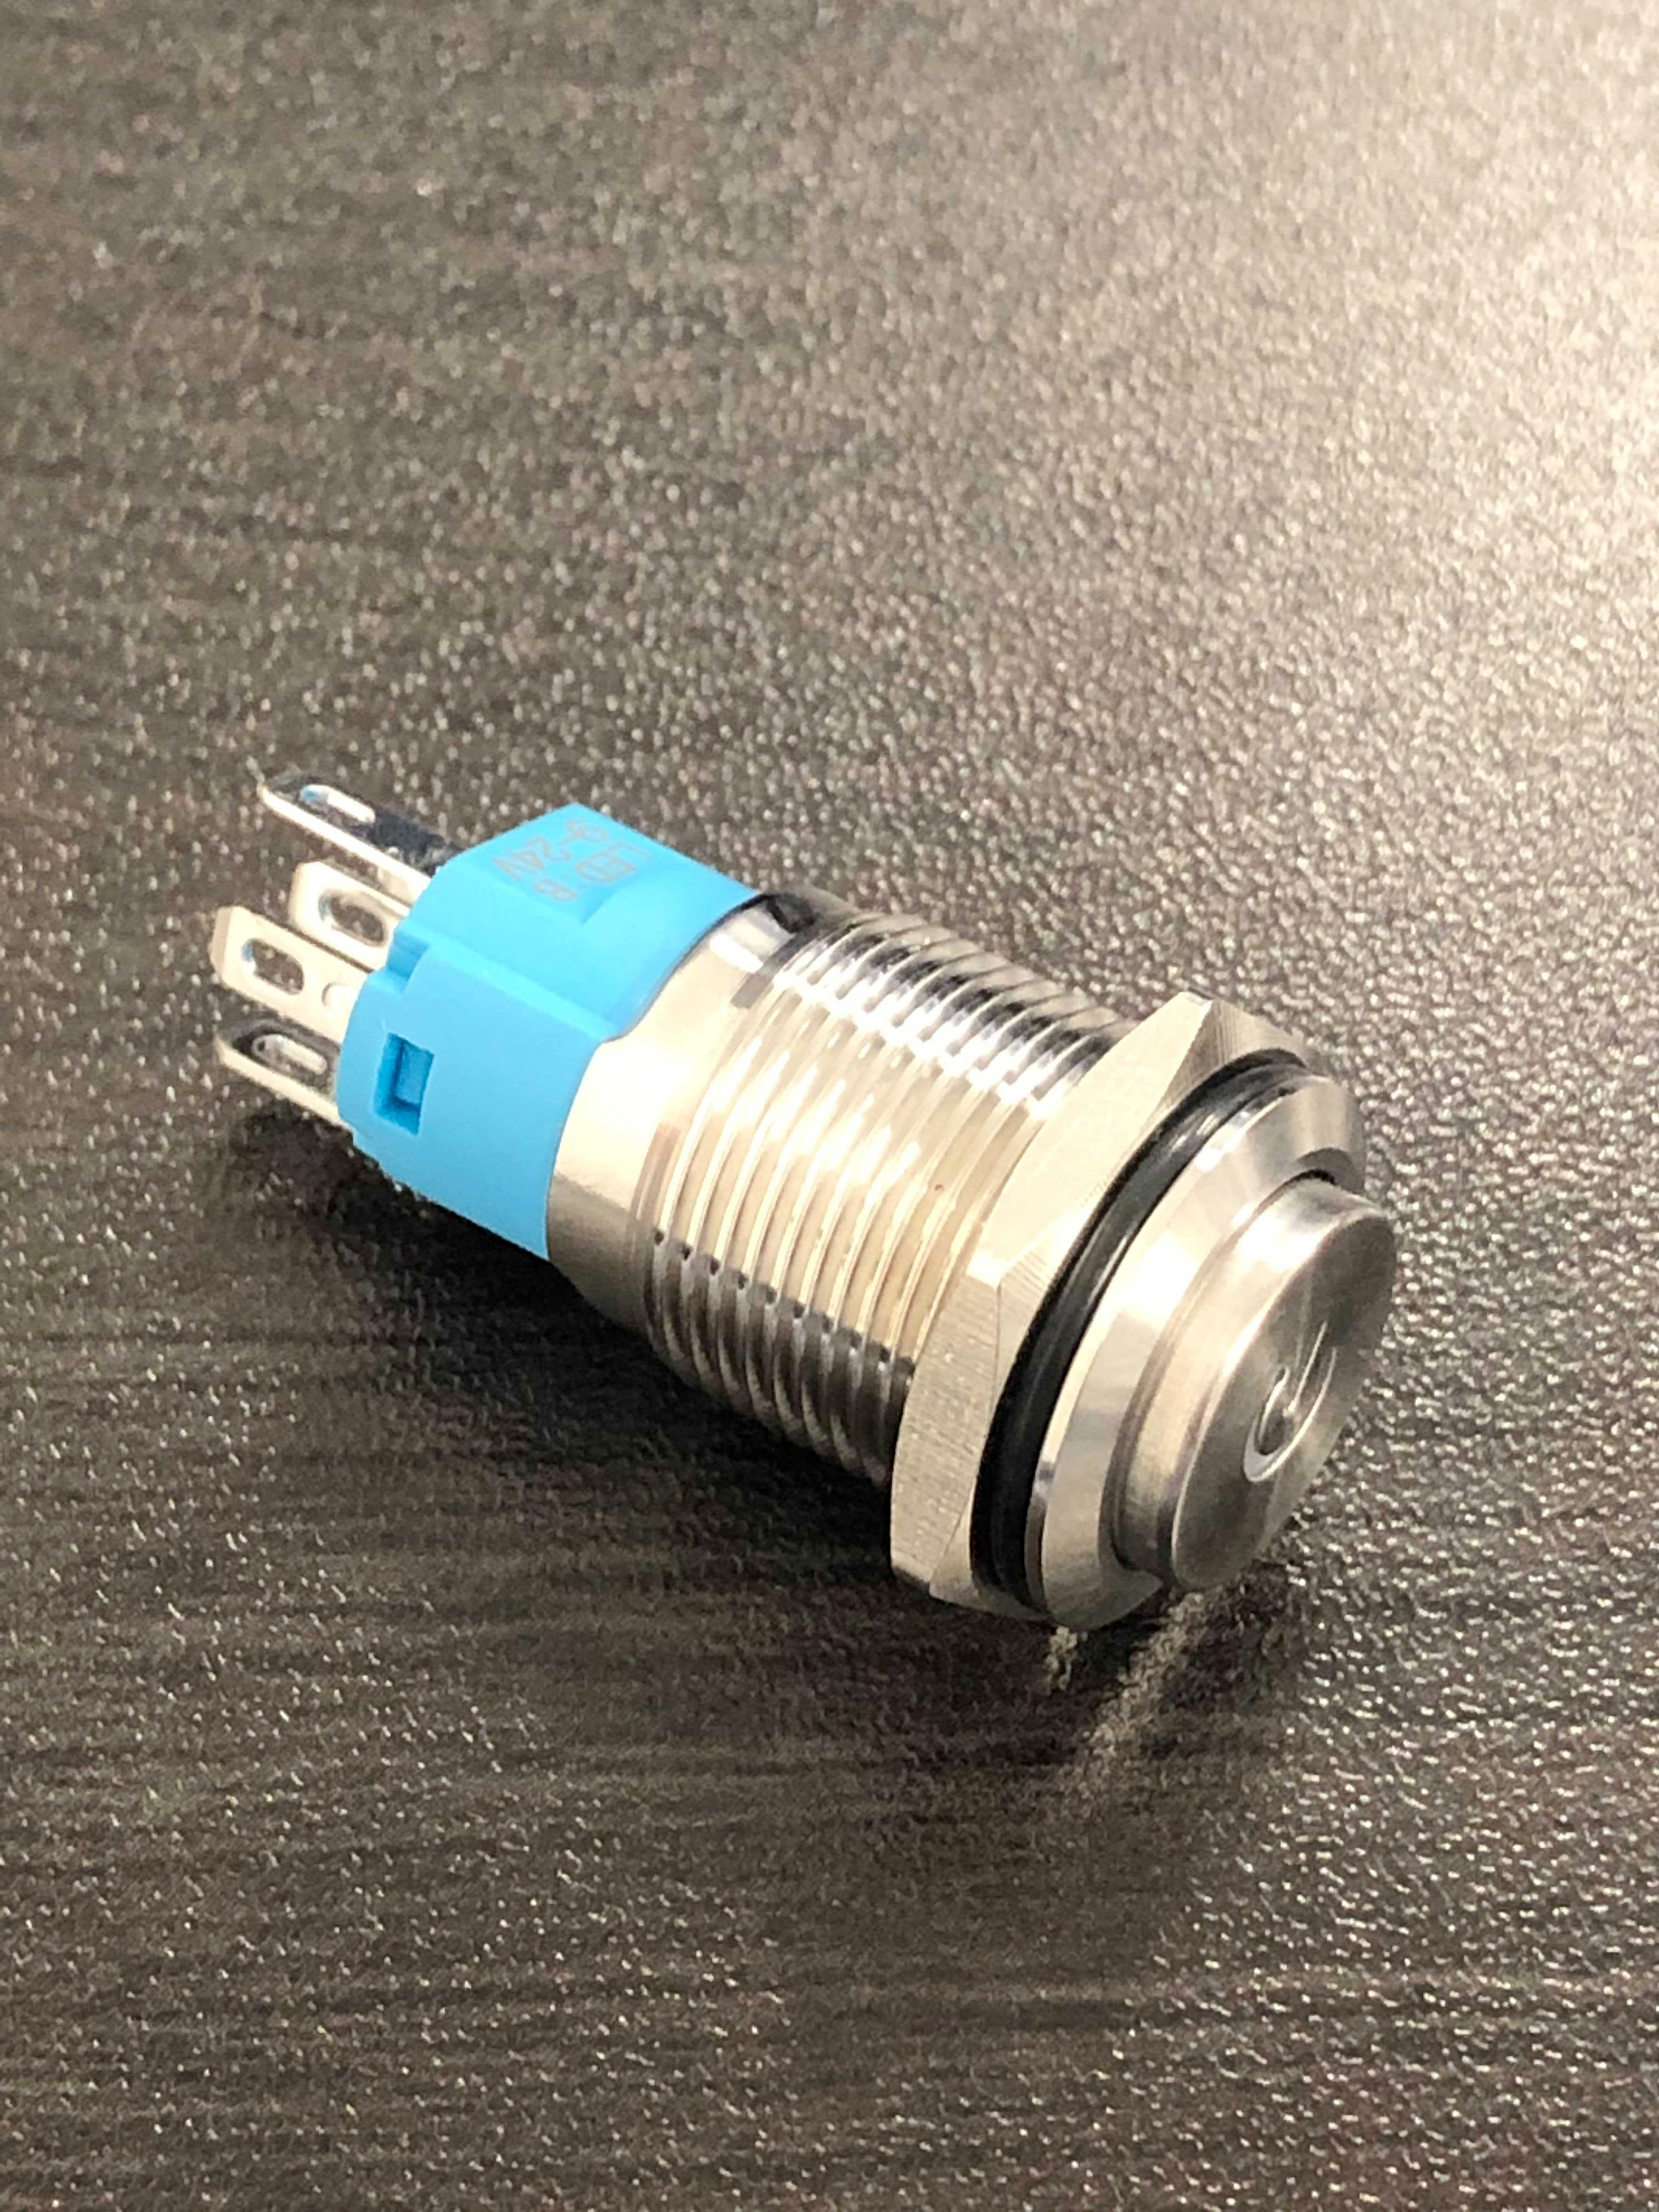
Pin Functions
Left and Right Pins: For the backlight. There is no specific order. Connect + & – (5–12V) as needed.
C (Common): Connect the negative wire of the light/LED here.
NC (Normally Closed) / NO (Normally Open): Connect the positive wire of the light/LED here.
The choice between NC and NO determines whether the light is on or off when the button is pressed.
Step-by-Step Connection (X Pro Example)
Take the black wire from the old light button and connect it to the C pin on the new button.
Connect the red wire from the old button to the NO pin.
This configuration ensures proper operation of the lights. While this guide is specific to the X Pro, it can generally be applied to other scooters with similar light button setups.
Notes
NC = Normally Closed
NO = Normally Open
Backlight connections (+/-) can be wired in any order.
With these simple steps, your new light power button will function correctly, restoring control of your deck lights.